
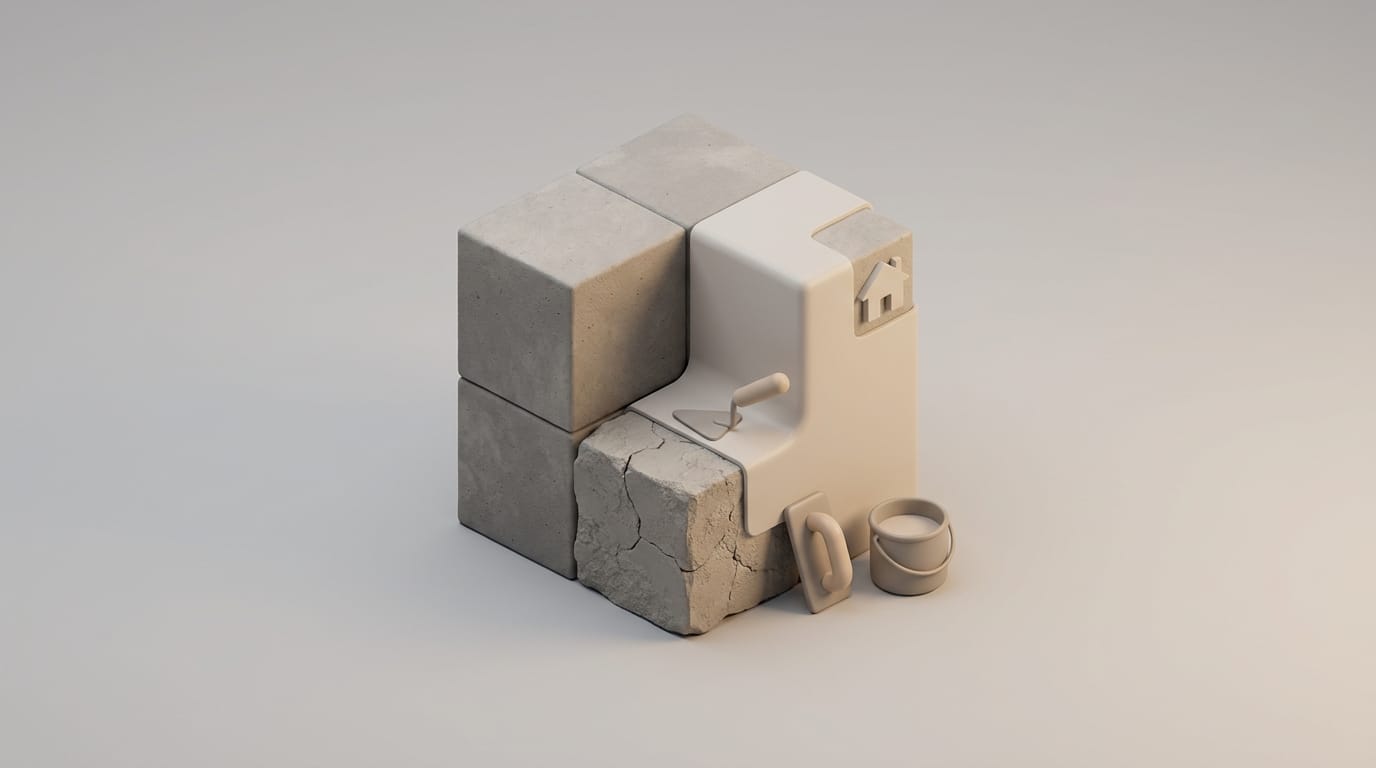
Most concrete restoration projects fail because the installer ignores the physics of the Saturated Surface Dry (SSD) state during the bonding phase. This concrete resurfacing guide explores the mechanical and chemical systems needed to turn a crumbling, weathered slab back into a strong and attractive surface. While many people think of concrete as a simple rock, it is a porous chemical system that changes long after the initial pour. Understanding these changes ensures that the bond between the old base and the new layer remains permanent.
Homeowners often view their driveways or patios as inert masses, but concrete is a reactive system. When this system breaks down through surface scaling or deep cracking, you need more than a cosmetic fix. Successful repair requires a deep understanding of how modern polymer-modified materials join with old cement foundations. By following a systematic approach, you can restore the structural integrity of the slab while giving it a fresh look.
The Chemistry of Concrete Surface Degradation
To fix a surface, you must first know why the original slab failed. Concrete stays strong through a process called hydration. This happens when water and cement react to create crystals that bind the sand and stone together. Over many years, environmental exposure starts a process called carbonation. This occurs when carbon dioxide from the air enters the pores of the concrete and reacts with the calcium. This reaction lowers the internal pH of the material, which slowly eats away at the glue holding the slab together.
Hydration and the Carbonation Process
When the pH level drops from its natural state of about 12.5 to below 9, the internal structure begins to change. While most residential slabs do not have the heavy steel reinforcement found in bridges, the carbonation process still weakens the cement paste near the surface. This chemical shift makes the concrete more likely to wear down from walking or driving. It is the hidden cause of the fine cracks and dusty residue that appear on old driveways. By catching these issues early, you can stop the decay before it reaches the deeper parts of the foundation.
Mechanics of Spalling and Freeze-Thaw Damage
Spalling happens when the surface of the concrete breaks into chips and fragments. This is usually the result of the freeze-thaw cycle. Because concrete is porous, it acts like a hard sponge and absorbs liquid water. When that water freezes, it expands by nearly 10% in volume. This expansion creates internal pressure that the concrete cannot handle. Eventually, the pressure forces the surface to peel away in thin layers. This is a common weakness in standard mixes, unlike the long-lasting Roman concrete that used volcanic ash to create a much tighter internal structure.
Concrete Patching vs Resurfacing vs Staining
Choosing the right restoration method depends on how deep the damage goes. Patching is a local repair for deep holes, while staining only changes the color of a slab that is already in good shape. Resurfacing sits in the middle. It provides a new top layer that covers the entire area. This method is ideal for slabs that are strong but look old and worn. It allows you to skip the high cost of a full replacement while still getting a surface that looks brand new.
Structural Integrity and Repair Decisions
Before starting a project, you must check if the slab is a good candidate for a new layer. If a crack moves or grows when the weather changes, a new surface will simply crack in the same spot later. However, for slabs with mostly surface-level damage, modern resurfacing costs much less than tearing out and pouring new concrete. This makes it an efficient choice for homeowners who want to improve their property value without a massive construction project. You must ensure the “bones” of the slab are stable before you apply any new material.
Matching the Strength of the Materials
You must match the strength of the repair material to the existing slab. If you put a very hard resurfacer over a soft, old slab, the two layers will pull against each other. As the temperature changes, they expand and contract at different speeds. This can cause the new layer to curl up or peel off. Achieving a successful repair is about more than just sticky glue; it is about making sure the two layers work together as one solid unit during the hot and cold seasons.
Steps for Success: A Technical Concrete Resurfacing Guide
The Saturated Surface Dry (SSD) state is the most important part of the bonding process. To reach this state, you soak the old slab with water until the pores are full. Then, you wipe or blow the surface dry so no puddles remain. This ensures the old slab is “thirsty” enough to bond with the new mix but not so dry that it steals the water needed for the new layer to cure. If you miss this step, the new material will dry out too fast and fail to stick.
The Physics of Capillary Suction
When you put a wet mix on a bone-dry slab, the old concrete acts like a vacuum. It uses capillary suction to pull moisture out of the new material instantly. This creates a “dry-bond” failure. In this situation, the cement at the point where the two layers meet never fully develops its strength. The result is a brittle, dusty layer between the old and new concrete. Eventually, this weak link will cause the entire top layer to flake off in large chunks, especially under the weight of a car.
Keeping Polymers Hydrated at the Bond Line
Modern resurfacing mixes use resins that need time to form a solid film. If the slab is in the SSD state, the moisture level is balanced. This prevents the resins from drying out too early. It allows the polymers to soak deep into the pores of the old slab before they harden. This creates a mechanical “root system” that ties the new layer to the old one. This process is similar to how self-healing concrete works to fix internal gaps through chemical reactions. By managing moisture, you ensure the new surface becomes a permanent part of the home.
Mechanical Preparation and Surface Standards
Simply cleaning the surface with a hose is not enough. You must “profile” the concrete to give it a rough texture, often called “tooth.” The International Concrete Repair Institute (ICRI) uses a scale to measure this roughness. For most home projects, you want a texture that feels like coarse sandpaper. This profile gives the new material more surface area to grab onto, making the bond much stronger than it would be on a smooth surface.
Using the ICRI Surface Profile Scale
A CSP 1 profile comes from acid etching, which is often too weak for heavy-duty work. A CSP 2 or 3 profile is better and usually requires diamond grinding. For thick layers, you might need to use a machine that hits the surface with small steel beads to create a CSP 4 profile. These rougher textures increase the bond area by up to 300%. While it takes more work to grind the slab, it is the only way to guarantee the new surface will stay put for years to come.
Grinding versus Chemical Etching
Many people use acid etching because it seems easy, but it often fails to remove the “laitance.” This is a weak, milky layer of cement that rises to the top when the concrete is first poured. Mechanical grinding is a better choice because it physically cuts away this weak layer and opens the pores of the rocks inside the mix. Using professional grinders with vacuum systems keeps the job clean and ensures you are bonding to the strongest part of the old slab. This step is the foundation of any professional concrete resurfacing guide.
The Science of Polymer Modified Overlays
The materials used in modern resurfacing are not just simple bags of mortar. They are advanced systems that include acrylic or vinyl resins. These resins take the place of some of the water in the mix. The result is a material that is stickier, more flexible, and harder for water to penetrate. These properties allow the new layer to be very thin while still being stronger than the thick concrete underneath it.
Resin Ratios and Material Performance
The amount of polymer in the mix changes how the material acts. High-polymer mixes are very flexible, which lets the thin top layer bend slightly without cracking. This is important for driveways where the ground might shift a little over time. Most high-end products reach a very high strength within just 24 hours. This fast drying time means you can get back to using your driveway much sooner than if you poured a standard slab. According to current estimated repair price per square foot data, these materials provide the best balance of cost and durability.
Managing Work Time and Texture
The biggest challenge during installation is “pot life,” which is how long the mix stays wet. In hot weather, the polymers can start to harden in only a few minutes. Experienced workers often use “retarders” to slow down the drying time or work in the cool hours of the early morning. This keeps the material fluid so they can spread it evenly or add a broom-finish texture. If the material dries too fast while you are working, it will tear and leave an ugly, uneven finish.
Managing Curing for Long Term Durability
The final step is the cure. Because resurfacing layers are thin, they can lose their water very quickly through evaporation. If the water leaves too fast, the concrete will shrink before it is strong enough to hold itself together. This leads to tiny spiderweb cracks across the surface. Protecting the new layer from wind and direct sunlight during the first day is vital for a smooth, professional result.
Controlling Moisture and Heat
To prevent cracks, you should keep the new surface hydrated. In some cases, installers use a curing compound or a fine mist of water to keep the surface damp for the first 24 hours. This allows the cement crystals to grow as large as possible. As these crystals grow, they lock the sand and stone into a dense shield that water cannot easily pass through. Proper curing turns a wet paste into a stone-like layer that can handle the weight of heavy vehicles.
Choosing the Right Sealer
Once the surface is fully dry, you must seal it to protect it from the weather.
- Penetrating Sealers: These soak into the concrete and react chemically to push water away. They do not change how the concrete looks, but they stop salt and ice from causing damage.
- Film-Forming Sealers: These coatings sit on top of the surface. They provide a “wet look” and protect the color from fading in the sun.
A good sealer is your final defense against the rain and snow that caused the original damage.
Understanding concrete as a living system rather than a static rock changes how we look at home repairs. By following the steps in this concrete resurfacing guide, you can move from a temporary fix to a long-term restoration. Respecting the physics of the SSD state and using the right mechanical tools ensures your work lasts. This systematic approach protects your home and saves money over time. As material science continues to improve, these advanced polymer systems make it easier than ever to keep our infrastructure strong against the pressures of time and climate.