Write Caching Explained: Why Your Computer Lies About File Transfers
When a file transfer reaches 100 percent, your computer often keeps working in the background. This creates a hidden window of risk where pulling a plug might destroy your data. To stay safe, you need to have write caching so you can see how systems balance speed against the physical limits of your hardware. This system acts like a high-speed waiting room for data; it keeps your work moving even when your drive struggles to keep up with the processor.
Modern computers use this trick to maintain a feeling of instant response. In 2026, the gap between processor speeds and storage remains a major bottleneck in how systems are built. Your processor and RAM work in nanoseconds, but even the fastest drives work in microseconds. If the processor waited for the drive to confirm every bit of data was safe before moving to the next task, your system would freeze during simple tasks. By understanding this process, you can manage your settings and protect your files from corruption.
The Mechanics of Temporary Data Storage in RAM
To understand the system, we must look at the speed difference between computer parts. Your CPU and RAM are incredibly fast, but storage drives are much slower. If your computer wrote data directly to the disk every time you clicked save, the user experience would feel sluggish. Instead, the operating system uses a middle layer to handle the data flow.
How buffers act as high-speed intermediaries
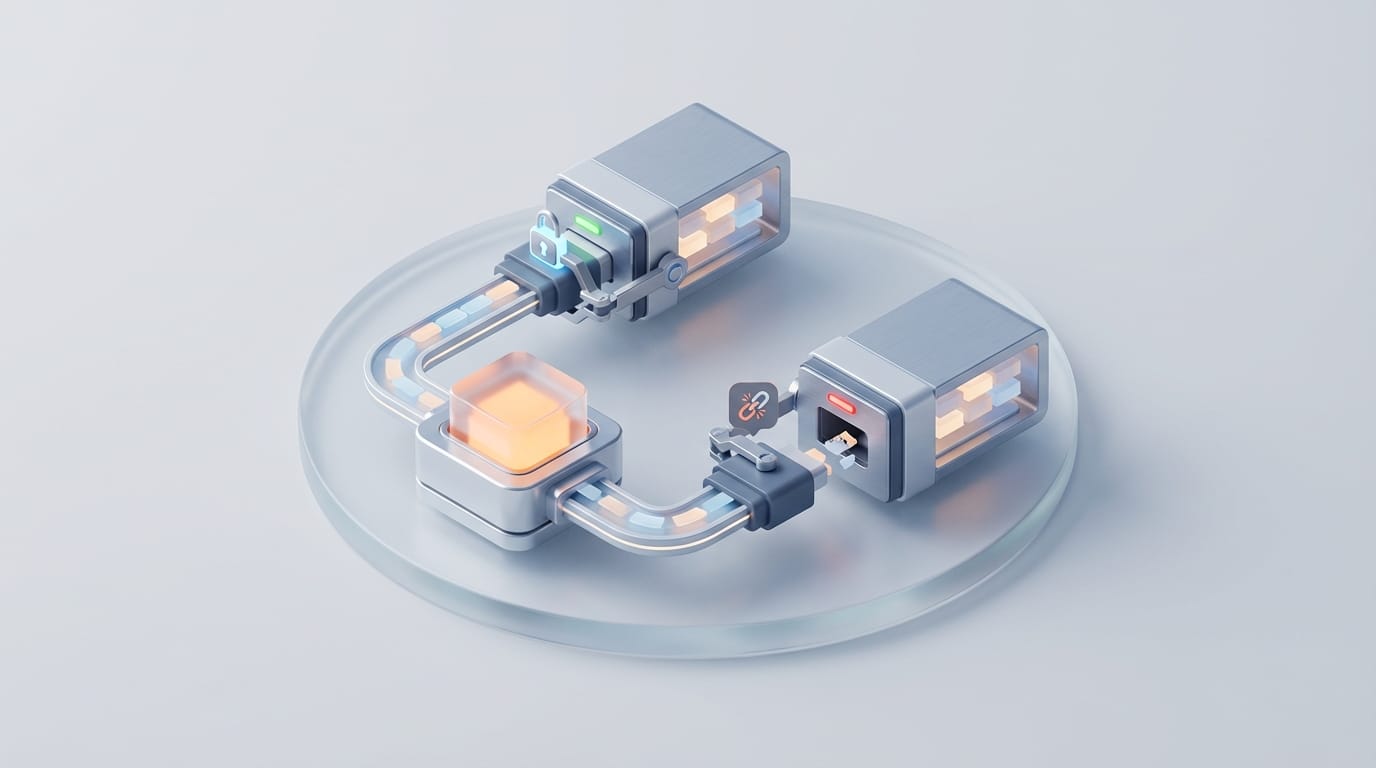
A buffer is a part of your system memory that sits between the software and the storage drive. When you save a file or copy a video, the system sends that data to this RAM buffer instead of writing it to the disk right away. Since RAM is much faster than flash memory, the transfer looks instant on your screen. This layer lets the processor finish its job and move back to other tasks like loading apps or managing your desktop. The buffer acts as a shock absorber; it takes fast bursts of data from the processor and sends them to the drive at a steady pace the hardware can handle.
The handoff from volatile to non-volatile memory
The process relies on the move from volatile to non-volatile memory. RAM is volatile, which means it needs power to keep information. If the power fails while data sits in the buffer, you lose that information forever. Non-volatile memory, such as an SSD or a hard drive, keeps data even without power. The handoff happens when the system tells the drive to move data from the buffer to the physical disk. This happens in the background, often long after you have started a new task. This delay is the price we pay for a fast interface, and it creates a brief time when your data is in a fragile state.
Why Progress Bars Lie About Your File Transfer Status
We often think a progress bar shows a physical move, but it really reports the internal state of the computer. When a bar hits 100 percent in a few seconds, the data is rarely safe on the drive. Instead, the system has finished moving the data into the RAM cache. Having write caching explained helps you see why the computer says the job is done before the hardware catches up. Engineers call this the honesty gap because the software reports a finished task while the hardware is still working. The system thinks the job is over because the application is now free to do other things. This is why a USB light might blink long after the window on your screen disappears.
Defining perceived performance in modern computing
Designers prioritize how fast a computer feels to the user. A truthful progress bar would make modern machines feel broken. If every save required a full hardware check, you would notice constant lag that would make the computer hard to use. By using these tricks, developers make the machine feel snappy even though storage technology is slow. The computer uses the speed of RAM to hide the limits of the disk.
How Write Caching Works Through Different Methods
Systems use different plans for caching based on how much risk they can take. The two main ways trade speed for safety. Write-back caching is the fast method. In this setup, the system says the task is done the moment data hits the cache. The disk writes happen later when the system is not busy. This allows for the best performance because it lets the system combine many small tasks into one big block. While macOS and Microsoft Windows use this for internal drives, it carries more risk. A crash before the system clears the cache will lose your data and might break your files.
Prioritizing data integrity with write-through caching
Write-through caching is a much safer choice. In this scenario, the system writes data to the cache and the drive at the same time. The computer does not say the task is finished until the drive confirms it has the data. This cuts the risk of loss, but it makes the system move at the speed of the slowest part. You see this in database servers where data safety matters most. It stops the honesty gap but makes the machine feel sluggish during heavy work. This balance is a key part of how we have write caching explained in different environments.
Why Ejecting Your Device Triggers a Manual Cache Flush
The Eject command is a vital instruction to sync the cache with the hardware. When you click it, you start a cache flush. The system stops all new write requests to that device and forces the storage controller to move all data from the RAM to the disk immediately. The computer holds the confirmation until the drive says it is finished. This is why some drives take time to eject after you click the button. The computer is finishing work it told you was done earlier. Once the buffer is empty, the system unmounts the drive, and it becomes safe to pull the plug.
Preventing the risk of file system corruption
Unplugging a drive without ejecting it puts your files at risk. Drives use maps called metadata to find where files start and end. If the drive writes the data but the system fails to update the map, the drive might look empty the next time you use it. People often blame the hardware, but a software mismatch usually causes the error. Ejecting ensures the map and the data match perfectly.
Managing Write Caching Settings on Windows and macOS
Windows and macOS handle these risks with different rules. Understanding these helps you decide when you need to be careful. In 2026, Windows sets external USB drives to Quick Removal by default. This policy essentially disables write caching for those parts to keep data safe. Transfers feel slower, but you can pull the drive as soon as the bar finishes. If you want more speed, you can change this in the Device Manager. Choosing Better Performance turns caching back on. This makes transfers faster, but you must use the Eject button every time or you will lose data.
Internal SSDs almost always use caching because they stay inside the machine. If you use a fast drive from a brand like Samsung, you might find software to change how often the cache flushes to gain more speed. On Linux, the system manages these tasks through mount options. Asynchronous mode is the standard for speed, as it lets the system manage its own buffers. No matter the platform, the goal is to balance processor speed with the reality of data storage. Knowing these rules helps you protect your files and know exactly when it is safe to disconnect your hardware.